Welcome to Eduweby! This Quickstart Guide will provide you with a brief overview on the features of your website and show you how to get up and running on your website in no time.
Access Admin Dashboard
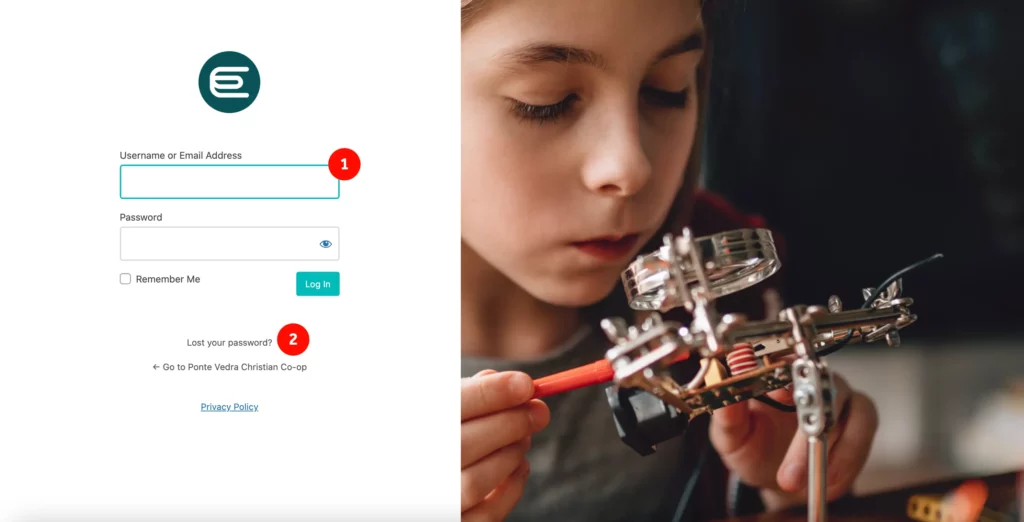
- Login to your Dashboard
- Log in to your website‘s Admin URL https://pvchristiancoop.com/login
- Enter your Username/ Email Address & Password
- Forgot Password?
- Click on the “Lost your password?” link (see image above)
- Fill the form to receive a link to reset your password (check your SPAM).
- Check your email for the confirmation link, then visit the login page.
Navigating the Dashboard
Below is an overview of your dashboard, highlighting key areas you’ll be using such as Posts, Pages, and Users.
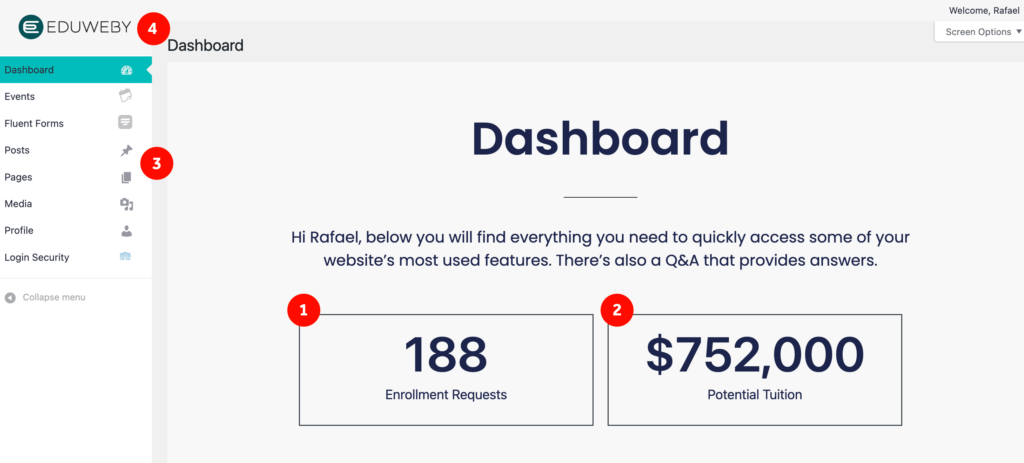
- Enrollment Requests: This shows you your prospective new students who have filled the enrollment form
- Potential Tuitions: This is your potential tuition that is updated every time a new enrollment request is submitted. The number is quantified by multiplying the enrollment request by your average tuition.
- Dashboard Menu: This is where you can update your events, forms, posts, pages, media, profile and security settings.
- Eduweby logo: Clicking on the logo will show you the frontend of your website. You can enter the login URL in your browser to get back to the dashboard.
/ Using Elementor: Briefly show you how to create and edit content visually.
/ Using the CRM: Introduce the Eduweby CRM as a tool for automating tasks and managing email campaigns
/ Using Forms: Describe Forms as a tool for managing forms and entries
/ Using Events: Explain how to use the CRM Events feature to manage events on the website